I have seen these hair clip holders for sale online. Well….not particularly this kind. I added my own touches here and there. These are very easy to make and if you are a crafty person then, you should have all the supplies already on hand.
You will need:
-Scissors
-Measuring tape or ruler
-Glue (hot glue from a hot glue gun works the best)
-clips or clamps (to hold the ribbons in place for gluing)
-8x10 photo frame
-batting or stuffing ( I used stuffing I had left over from a pillow project)
-Ribbon (I used a satin hot pink)
-A piece of card board (cut to fit the inside of the photo frame)
-Fabric (I used a furry zebra print)
Now you should have all your ingredients ready for our little recipe…. :D
 |
| Here is the finished product |
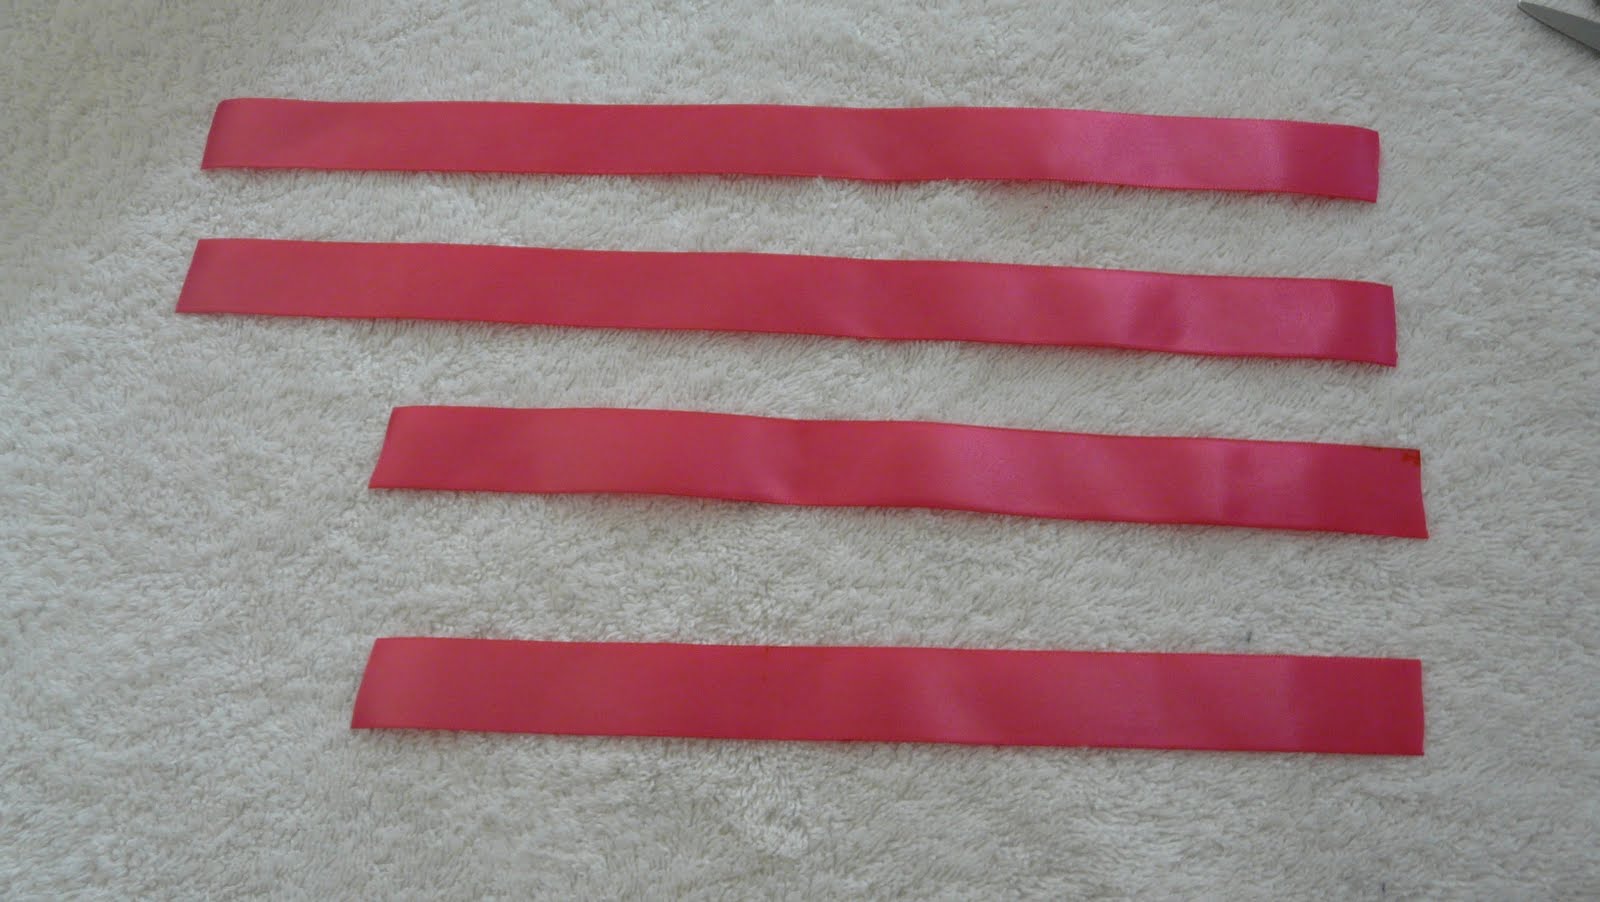 |
| You will need to cut your ribbon. Cut two pieces that measure 12 inches, and cut two pieces that measure 10 inches. |
 |
| Remove the glass from the frame. |
 |
Cut your fabric so that it measures 1 inch bigger than the frame on each side (if you have and 8x10 then your fabric should measure 10x12) -place your frame FRONT SIDE down -layer your fabric RIGHT SIDE down on top of the frame ( you will us it as a guide) |
 |
-place your batting on top of the fabric (make sure you spread it out evenly) -Cut your cardboard, I would say to cut in a little bit smaller that the frame. You are going to wrap the fabric around it and don’t want it to be too big for the frame. -place your cardboard on top of the batting (you should have a nice looking batting sandwich) |
 |
-glue one side then its opposite (make sure that you pull and make it nice and taut, don’t pull too much) -cut the corners last |
 |
-place your ribbons (clip them in place so they don’t move while you are glueing) |
 |
| -ribbons are secured, turn over and glue |

-the back is not going to look pretty but….really….who cares! It’s the back. Place the back of the frame back on and you are DONE!
No comments:
Post a Comment